Visits at a glance
Plan, assign, and track on-site work from one place. The Visits area shows every upcoming or past visit, who it’s for, when it happens, and which team member is going.
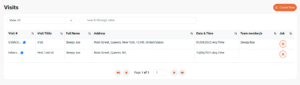
Visits list (overview)
-
Create New button to add a visit in seconds.
-
Search bar + “Show 20” paging for fast navigation.
-
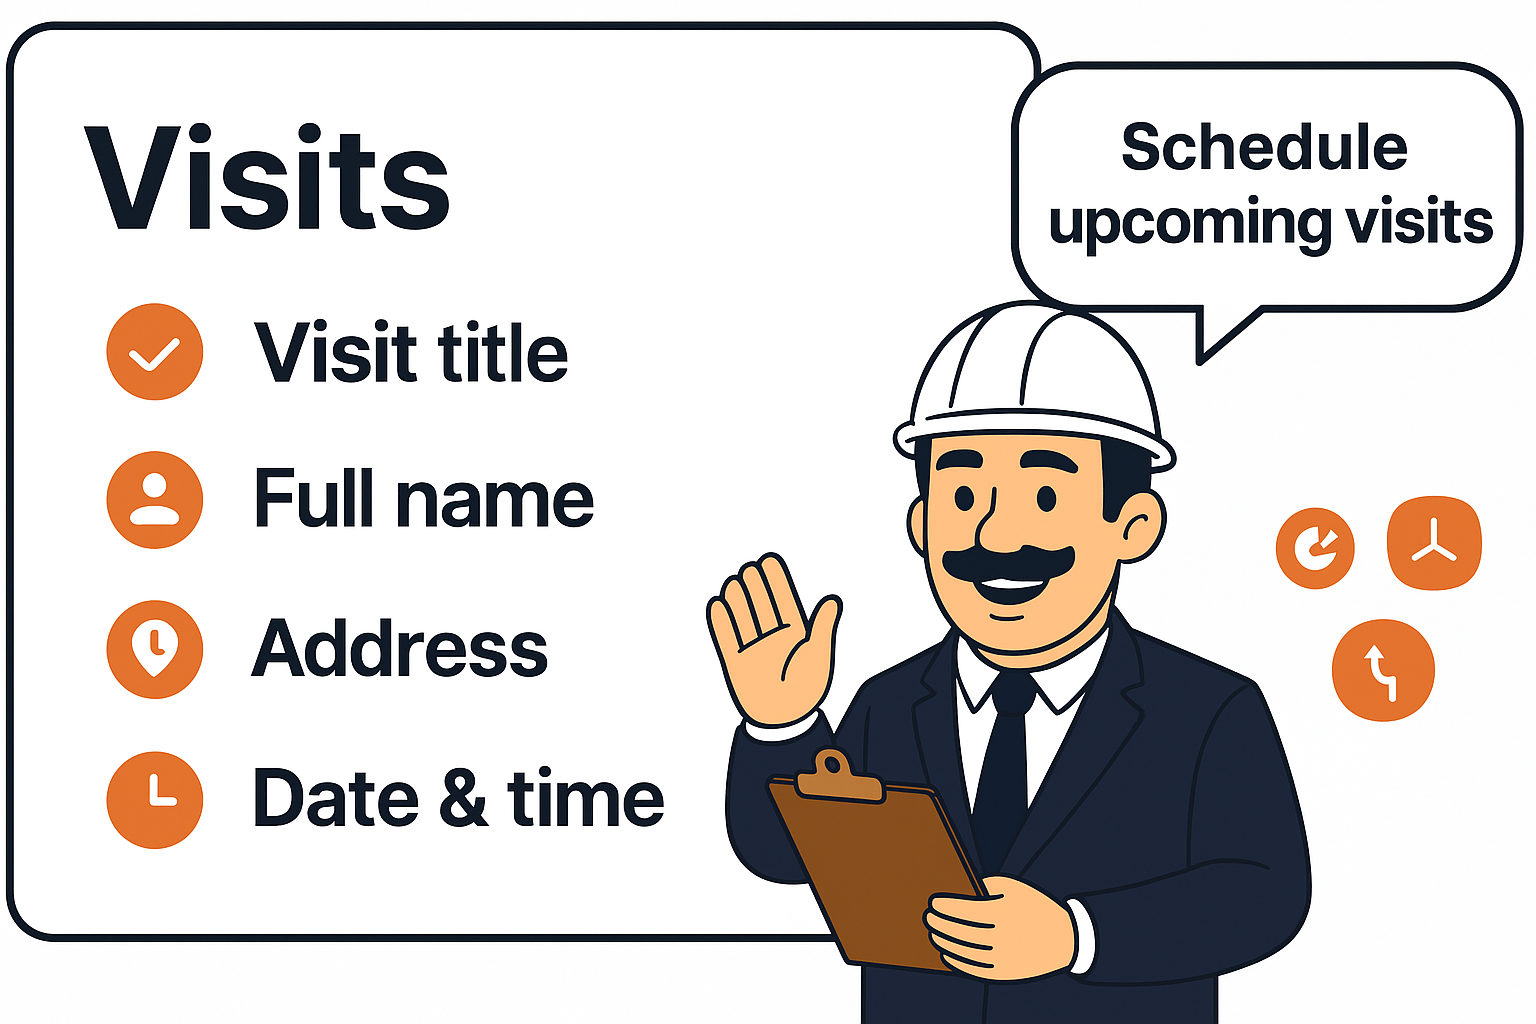
Columns: Visit #, Visit Title, Full Name (client/lead), Address, Date & Time, Team member/s, Job.
-
The Job column lets you link a visit to an existing job (or open the job) straight from the table.
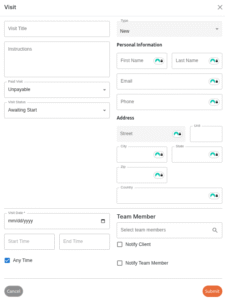
Creating / editing a visit
Open Create New (or click a row to edit) and fill the simple form:
Basics
-
Visit Title – what this visit is.
-
Instructions – notes your field team will see on the mobile app.
-
Paid Visit – choose Payable or Unpayable.
-
Visit Status – e.g., Awaiting Start (you can update this later).
Client details
-
First/Last Name, Email, Phone – type new details or select an existing contact.
-
Address – street, unit, city, state, zip, country (used for map routing).
Schedule
-
Visit Date – pick the day.
-
Start/End Time or toggle Any Time if timing is flexible.
Assignment & notifications
-
Team Member – select one or more assignees.
-
Optional checkboxes to Notify Client and Notify Team Member instantly by email.
Click Submit to save. The visit now appears on the Visits list and in the Schedule calendar.
Common actions
-
Reschedule: open a visit, change the date/time, save.
-
Reassign: open the visit, change Team member, save.
-
Update progress: switch Visit Status (e.g., Awaiting Start → In Progress → Completed).
-
Attach to a job: use the wrench/link icon in the Job column to connect a visit with its job for end-to-end tracking.